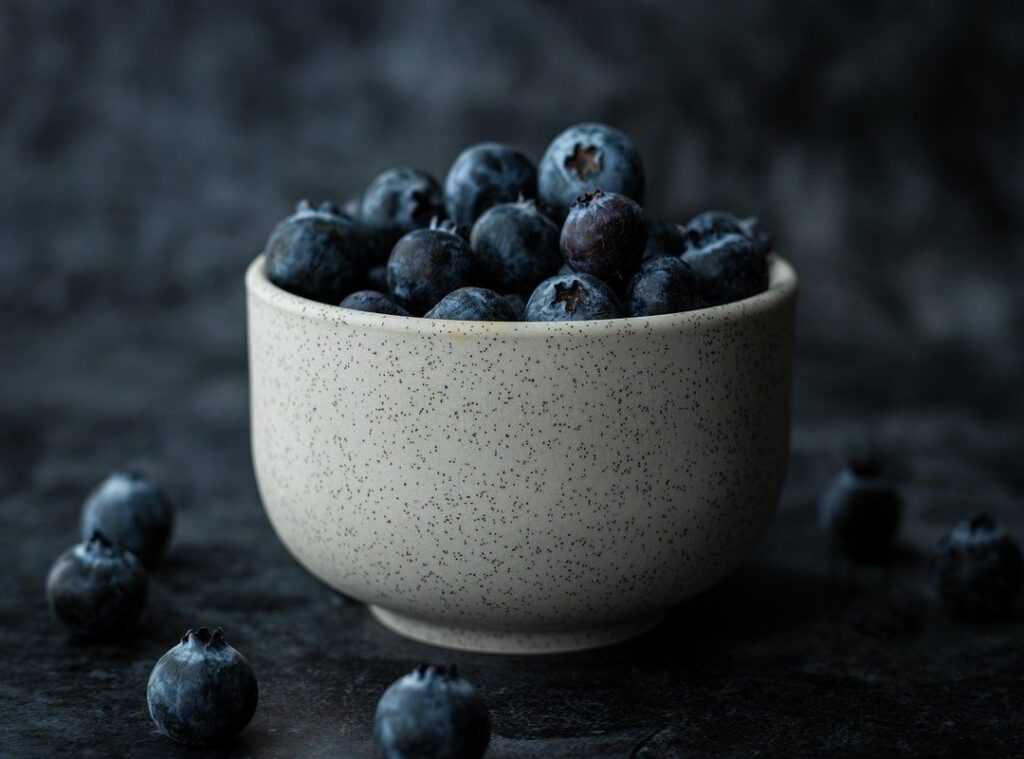
Ever cooked a feast that tastes heavenly, only to snap a photo that looks drab and lifeless? You’re not alone. This common struggle, where even the most delicious dishes fall flat in photos, is frustrating.
We’ve been there, obsessing over what makes food photos pop. And you know what? You don’t need fancy gear to make it happen.
With our passion for celebrating food in all its forms, from humble chili bowls to gourmet plates, we’ve cracked the code. This article will dish out food photography tips you can use right now. Get ready to make your food photos shine.
The Foundation: Getting It Right Before the Snap
You want to nail that food photo? Start before you even click the shutter. It’s all about setting the stage.
Lighting is your best friend here. Seriously, natural light can make or break your shot. Find that sweet spot in your home (hint: it’s usually by a window).
Ever notice how food looks amazing when it’s bathed in soft, gentle light? That’s no accident.
Soft light is key. Think of it like the difference between a fluffy pancake and a dense biscuit. Soft light wraps around your subject, making it look inviting. To get this, try a thin curtain or even parchment paper to diffuse harsh sunlight. No one wants their breakfast looking like a crime scene under a spotlight.
Placing your main dish slightly off-center creates a more interesting picture. Trust me, it works.
Let’s talk composition. The ‘rule of thirds’ might sound technical, but it’s not. Imagine your frame split into a grid of nine squares.
Angles matter too. Ever wonder why some food photos pop while others flop? It’s all about the perspective.
Overhead shots (flat lays) are great for pizzas and salads. They capture everything in one glance. But try a 45-degree angle for depth, especially with layered foods like burgers.
Straight-on angles work wonders for tall, stacked items.
And if you’re diving deeper into top culinary podcasts follow, you’ll find even more takeaways on how professionals approach food photography. These food photography tips can raise your snaps from amateur to pro. So, go ahead, experiment, and remember: the best shots often start with the best setup.
Your Digital Spice Rack: Basic Edits for Big Impact
Editing photos is like seasoning food. Just like salt, pepper, and acid can transform a dish, a few important adjustments can take your food photos from blah to wow. Trust me, these tweaks make all the difference.
First up, brightness and exposure. Ever take a picture of a delicious stew, only to see it looks like a murky mess? Gently increasing brightness is your friend here.
It’s like lifting a curtain on a cloudy day. Suddenly, your stew is inviting, not a dark blob. But ease up.
Too much and it looks washed out (nobody wants ghostly food).
Next, contrast and shadows. This is where the magic happens. Increasing contrast can make your dish pop, like adding a dash of lemon to a flat soup.
It enhances colors, making them bold. And lifting shadows? That’s revealing those hidden details you didn’t know your camera caught.
But let’s not forget color and saturation. I’m a fan of lively greens and reds, but over-saturating can turn a juicy tomato into a cartoon. A gentle boost is enough to make those fresh ingredients shine without coming off as fake.
Then there’s the “Warmth” slider. Your secret weapon against those awful indoor lighting casts. It’s like adjusting the lights at a dinner party to set the mood just right.
It’ll change how you look at your plate.
I swear by these food photography tips. They’re my go-to advice when someone’s looking to step up their game. For more, check out food photography tips.
Pro tip: use your phone’s built-in editor or free apps like Snapseed. You don’t need fancy software to make a big impact. It’s just about knowing which sliders to slide.
Go on, spice up your digital life.
Level Up: Making Textures and Details Pop
Let’s talk texture. Food photography can make you want to reach through the screen and grab a bite. Why?
Because when you bring out the details, everything looks touchable and delicious. You ever notice how some photos make bread crusts appear crispy enough to hear the crunch? That’s the magic of a little sharpening.
But don’t overdo it. Too much, and suddenly that bread looks like it’s been through a bad Instagram filter.
Now, let’s chat about the ‘Clarity’ and ‘Texture’ sliders. They’re not the same as sharpening. These tools work wonders on sauces, soups, and crumbly toppings.
They boost textures without messing with the whole image. It’s like adding a pinch of salt to your soup (just) enough to boost flavor without overpowering. Pro tip: they can add depth to your photos, but go easy.
You want your food to look real, not like a cartoon.
Here’s a trick not everyone talks about: selective adjustments. Maybe the berries on your cake need to pop a bit more red, or the main protein on your plate needs a spotlight. It’s like having a spotlight just for the star of the show.
These tweaks make individual elements stand out without altering the entire photo.
Vignetting is another game-changer. A subtle dark vignette draws the viewer’s eye to the center of the dish. Remember, subtlety is key. You don’t want your photo looking like an old picture from grandma’s attic. Think of it as gently nudging the eye towards where it matters most. The food.
Hungry for more food photography tips? You can learn more from this guide. It dives into understanding the detailed world of culinary certifications, if that’s your thing.
Each step you take in mastering these tips brings you closer to capturing that perfect, mouth-watering shot.
Solving Tricky Food Photo Problems: Snap Like a Pro
Food photography can be a nightmare, right? Especially when you’re dealing with the dreaded “brown food” dilemma. Brown foods like chili or chocolate cake often look, well, unappetizing.
Here’s my secret weapon: focus on texture. Add a pop of color with garnishes such as fresh herbs or a dollop of sour cream. Trust me, it works wonders.
Also, play around with selective color boosts on any non-brown elements. It creates contrast and makes the dish pop.
Now, let’s talk about glare and shine. Nothing kills a shot faster than harsh reflections on glossy sauces or melted cheese. Change your camera angle.
Sometimes that’s all it takes. Or, try using a “dehaze” tool sparingly. It can save you from that annoying glare without making everything look artificial.
And those lifeless salads? They’re easier to fix than you think. Boost the green/yellow color channels.
It brings out the freshness. Increase sharpness just a touch to highlight texture. That way, water droplets on greens look crisp and inviting.
If you’re looking for more food photography tips, keep experimenting. The more you shoot, the better you’ll get. What’s your go-to trick for making food look delicious?
Create Stunning Food Photos Now
We’ve gone from basics to easy, solid enhancement tricks. Remember, your food deserves photos that make mouths water. We’ve hit on lighting, composition, and editing to help you craft beautiful images consistently.
Is your food still looking drab in photos? It shouldn’t. Try picking one food photography tips from above and use it on your next meal’s photo.
You’ll see the difference. Your food will finally look as good as it tastes. Ready for more kitchen magic?
Dive into our site for more recipes and hacks. Go ahead, make your food photos irresistible. They deserve it.